
How to make a digital menu board that updates itself
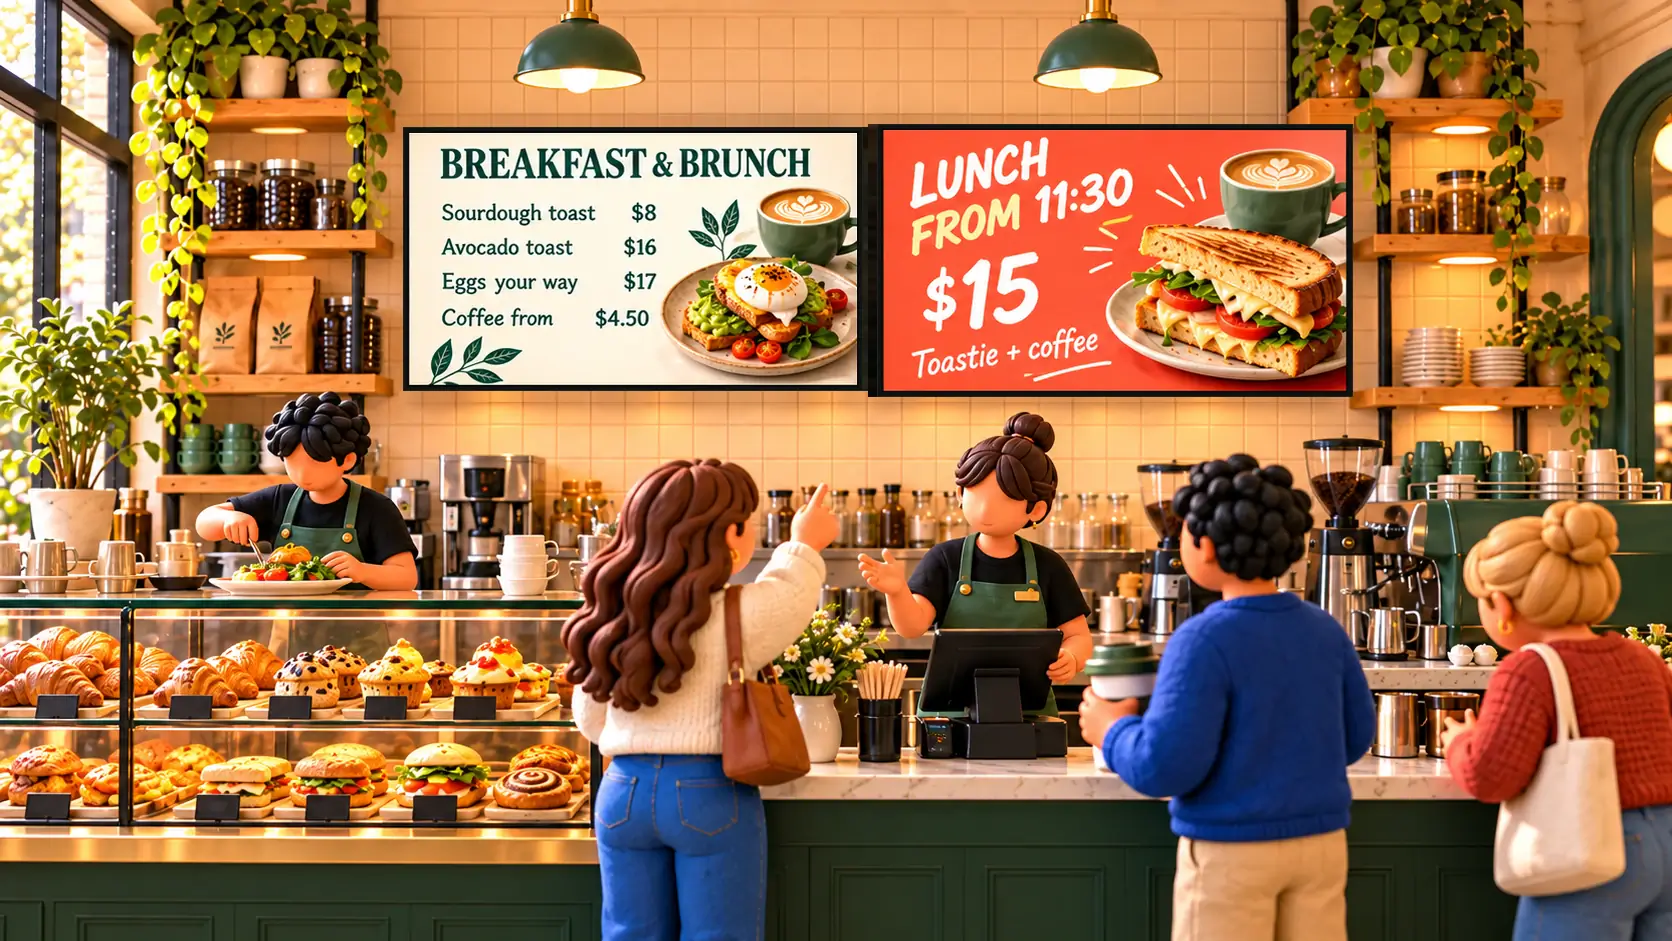
A digital menu board is a menu on a TV. The useful kind is one you change in a single place: you fix a price once and every board follows, breakfast gives way to lunch at the right time, and a sold-out dish is crossed off from a phone at the counter. This post takes you from nothing to a board on the wall.
What you need
- A TV and a stick. Any TV with an HDMI port, with a Fire TV, Android TV or Google TV stick, or a browser open on a computer. Which stick to buy lists what works.
- A Pro plan. Menu boards are part of Pro: A$9.99 per screen a month, with 14 days free. One screen on the free plan is for photos, videos, playlists and simple signs.
- Your menu. Type it in, paste a list, have Dislab AI read a photo, PDF or link of it, or bring it across from Square.
1. Put your menu in
- Open Menus, press New menu and give it a name, such as “Cafe menu”. Choose how to fill it: Type it in, Read a photo, PDF or link, or Bring it from Square.
- Press Add a category (Coffee, Breakfast) and type the items with their prices. Press Enter to go from a name to a price and on to the next item. Already have your menu as a list? Press Paste a list: one item a line with its price at the end, and a line with no price starts a new category. Dislab shows what it will add before it adds it.
- If a category comes in sizes, type them in Sizes with commas between (Small, Large), up to four. Each item then gets a price for each size.
- There is no Save button: changes save themselves a moment after you stop typing. When you are ready, press Publish.
2. Make the board
The menu holds your items and prices. A board is how they look on a screen, so one menu can be on several boards.
- Open the menu, choose the Look tab and press New board. It takes three steps: Shape, Style and Fit and name.
- Choose Landscape or Portrait to match how the TV hangs.
- Pick Plain, which gives each category its own box, or one of the menu styles. The ones under Suggested for your business suit what you do, and Animated or Still sorts them by movement.
- A menu that fits on one screen just shows its board. A long one is split for you, with each category on a board in menu order. Name it and press Make the board.
- The board opens in the designer. Move and size the boxes, change fonts and colours, and add photos around it as you would on any sign. Tap an item on the board to change its name, price or description right there.

3. Breakfast to lunch by itself
- On the menu’s Rules tab, under Day-parts, press Add a day-part. Name it, set when it starts and ends, and untick any days it doesn’t run (weekend brunch, say).
- On each category, press the day-parts it belongs to beside Shown. A category with none pressed shows all day.
- Check it in the preview, then press Publish.
Each screen switches by itself at its own local time, and keeps doing so with no internet.

4. Put it on the TV
- Plug the stick into the TV, open Dislab on it, and note the 6-character code on screen.
- In the console, go to Screens and Add screen, type the code and name the screen.
- Open the screen’s page, choose the board for it to play, and press Publish to screen. The TV downloads everything first, then starts playing.
Once everything has downloaded, the screen keeps playing with no internet. How that works.
5. Mark things sold out from a phone
- On a phone, open Menus and press Sold out beside the menu. Add the page to your phone’s home screen to keep it a tap away.
- Tap an item: it turns to Sold out and the screens change within seconds. Tap it again to put it back In stock.
Sold out does not wait for Publish and does not touch your unpublished changes. You choose when items come back: only when someone taps them, at the next day-part, or the next morning at a time you set. Staff can do this from their own login with the Staff role, which shows only the phone pages, so nobody needs your password.

Tips that save trouble
- Price changes wait for Publish; sold out does not. That lets you check a price change before customers see it.
- A menu that is too long shrinks to fit, down to 60% of its size. Past that it will not publish and says which board it does not fit. Make the box bigger, add a column, or choose Pages so it turns by itself.
- Use your own photos. Add them under Media, then pick one beside an item. Dislab also has free stock photos.
- Public holiday surcharges, markdowns and dietary icons are all set on the menu, so every board shows them.
Questions
Do I have to publish every time something sells out?
No. Sold out goes live at once from the Sold out page and does not need Publish. Changes to names, prices and photos do wait for Publish.
Will the board keep working if the internet drops?
Yes. The screen plays from its own storage once everything has downloaded, and day-parts keep switching by the screen’s own clock. A sold-out tap or a price change needs the screen to be online to arrive.
Can I use the menu I already have in Square?
Yes. Connect Square once with Square’s own sign-in and your items, prices, sizes and sold out stay up to date on every board by themselves. See Square menus.
How much does a menu board cost?
Menu boards are part of Pro: A$9.99 per screen a month, or A$99 a year, with every feature included. The first 14 days are free. See pricing.
Can I show different menus on different TVs?
Yes. Every screen can play its own board, and one menu can be on any number of boards.
Put your menu on the wall
Make the menu, pick a board and have it on a TV in about an hour. The first 14 days of Pro are free.
Related posts
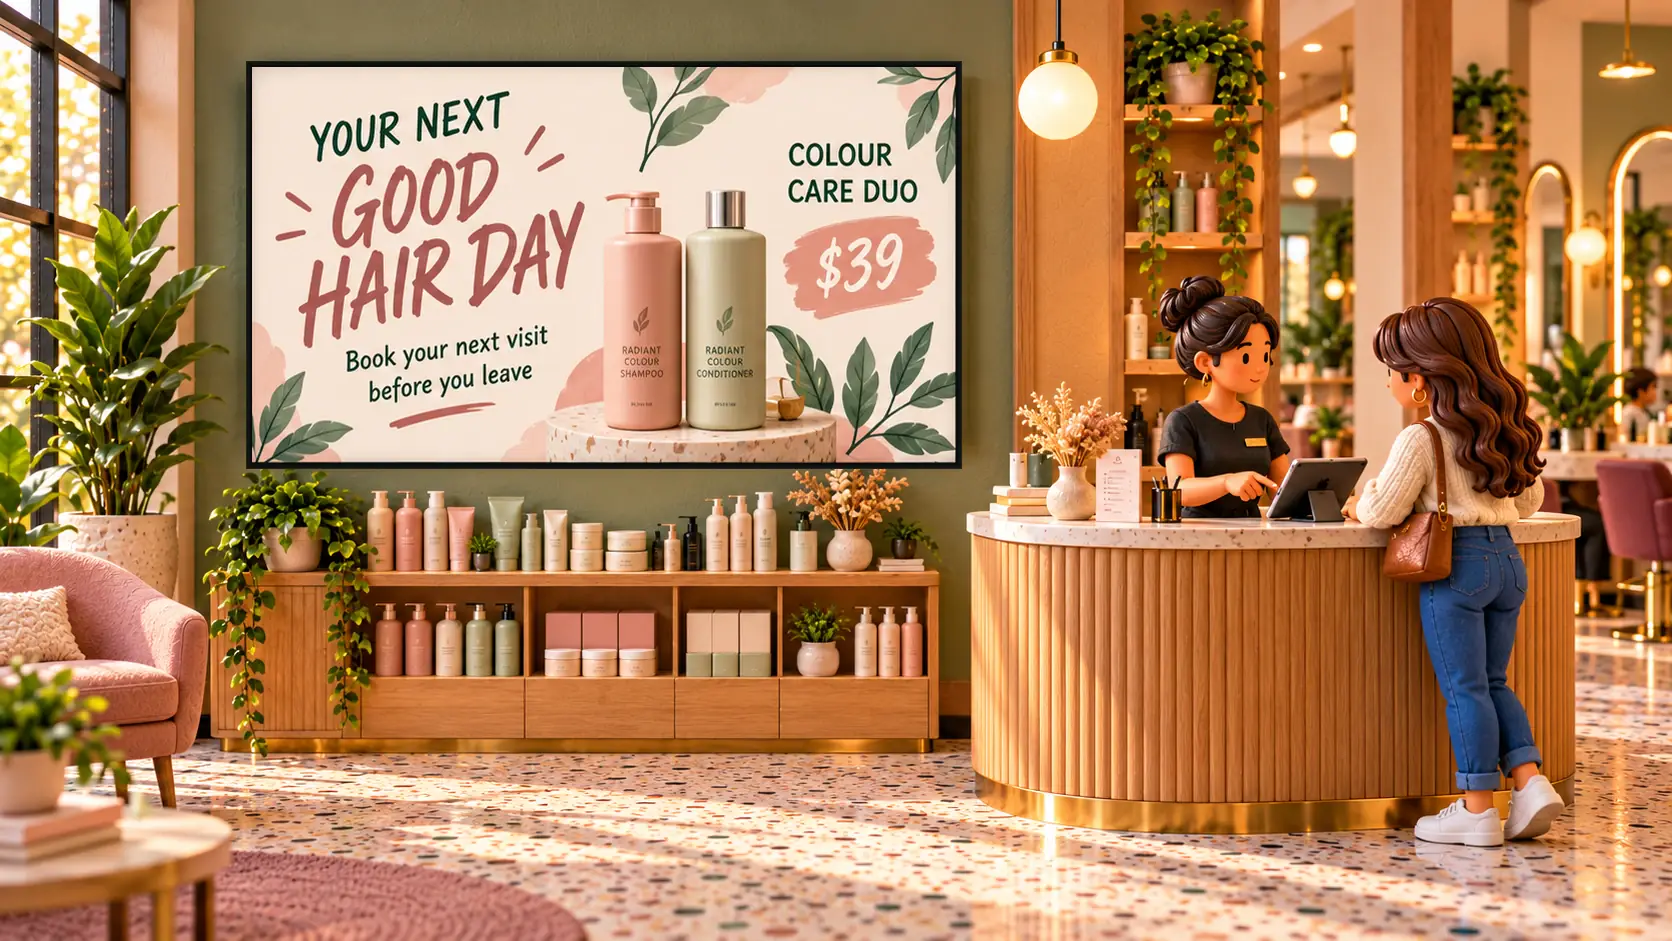 MenusDigital signage for hair salons: what to show and whereDigital signage for hair salons: a price list by the mirror, a QR code to book at the desk, your best work in the window, and what it costs per screen.
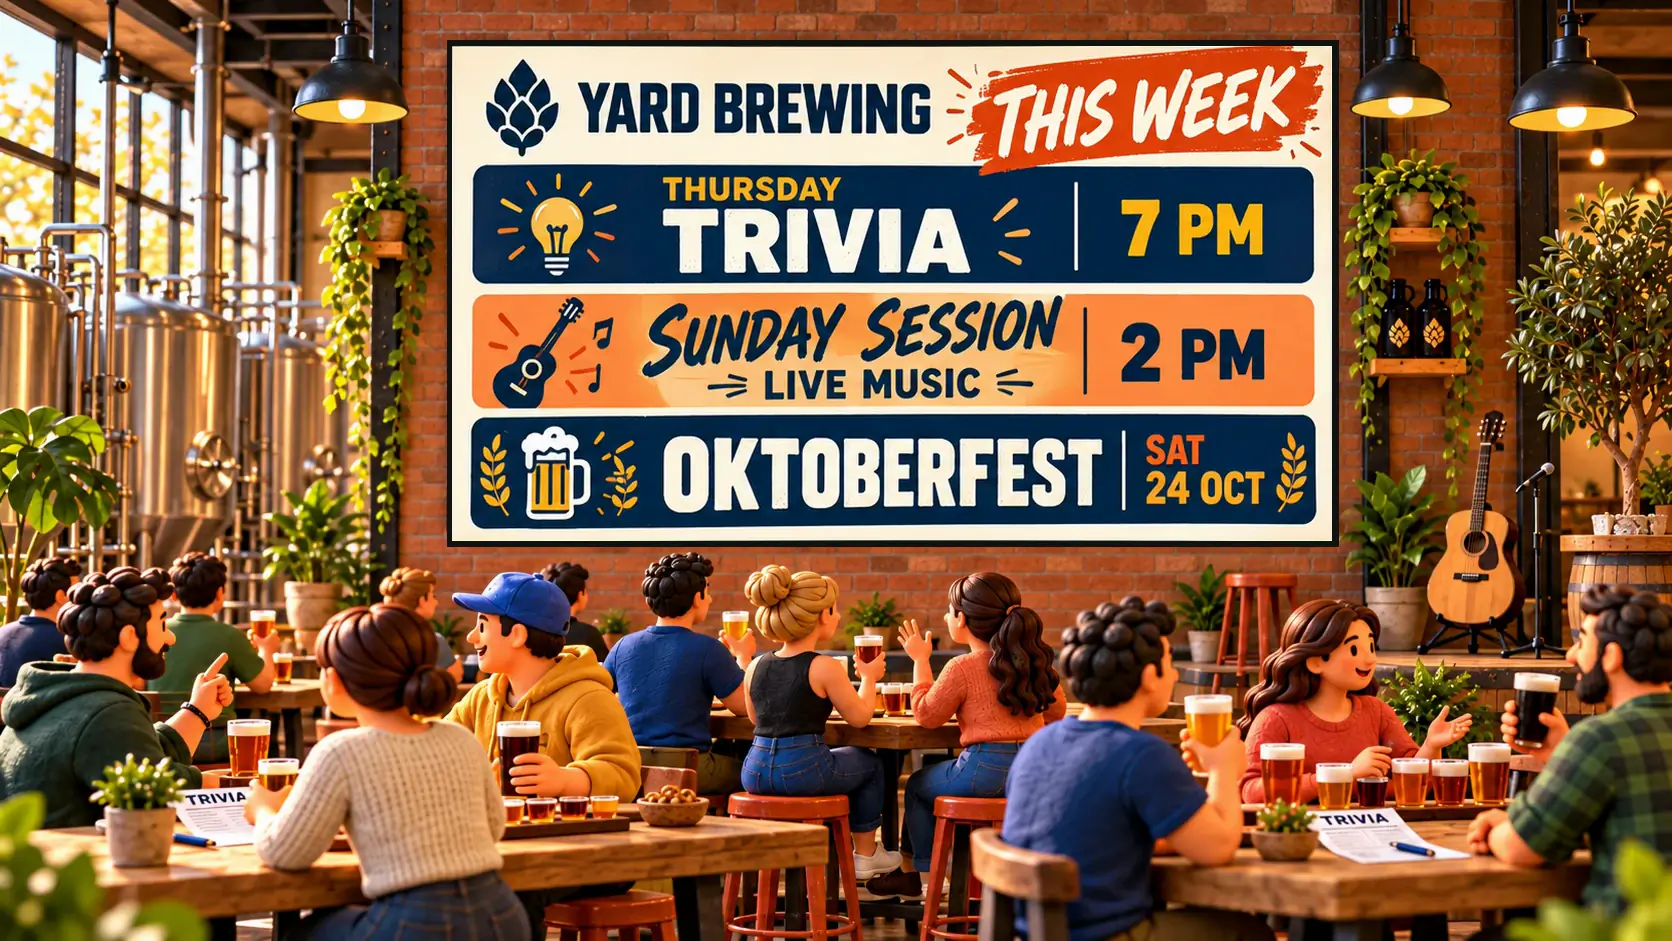 MenusHow to show a Google Sheet on a TV screenShow a Google Sheet on a TV and keep it up to date: menu prices and sold out, charts, ladders, live values and whole signs that follow the sheet.
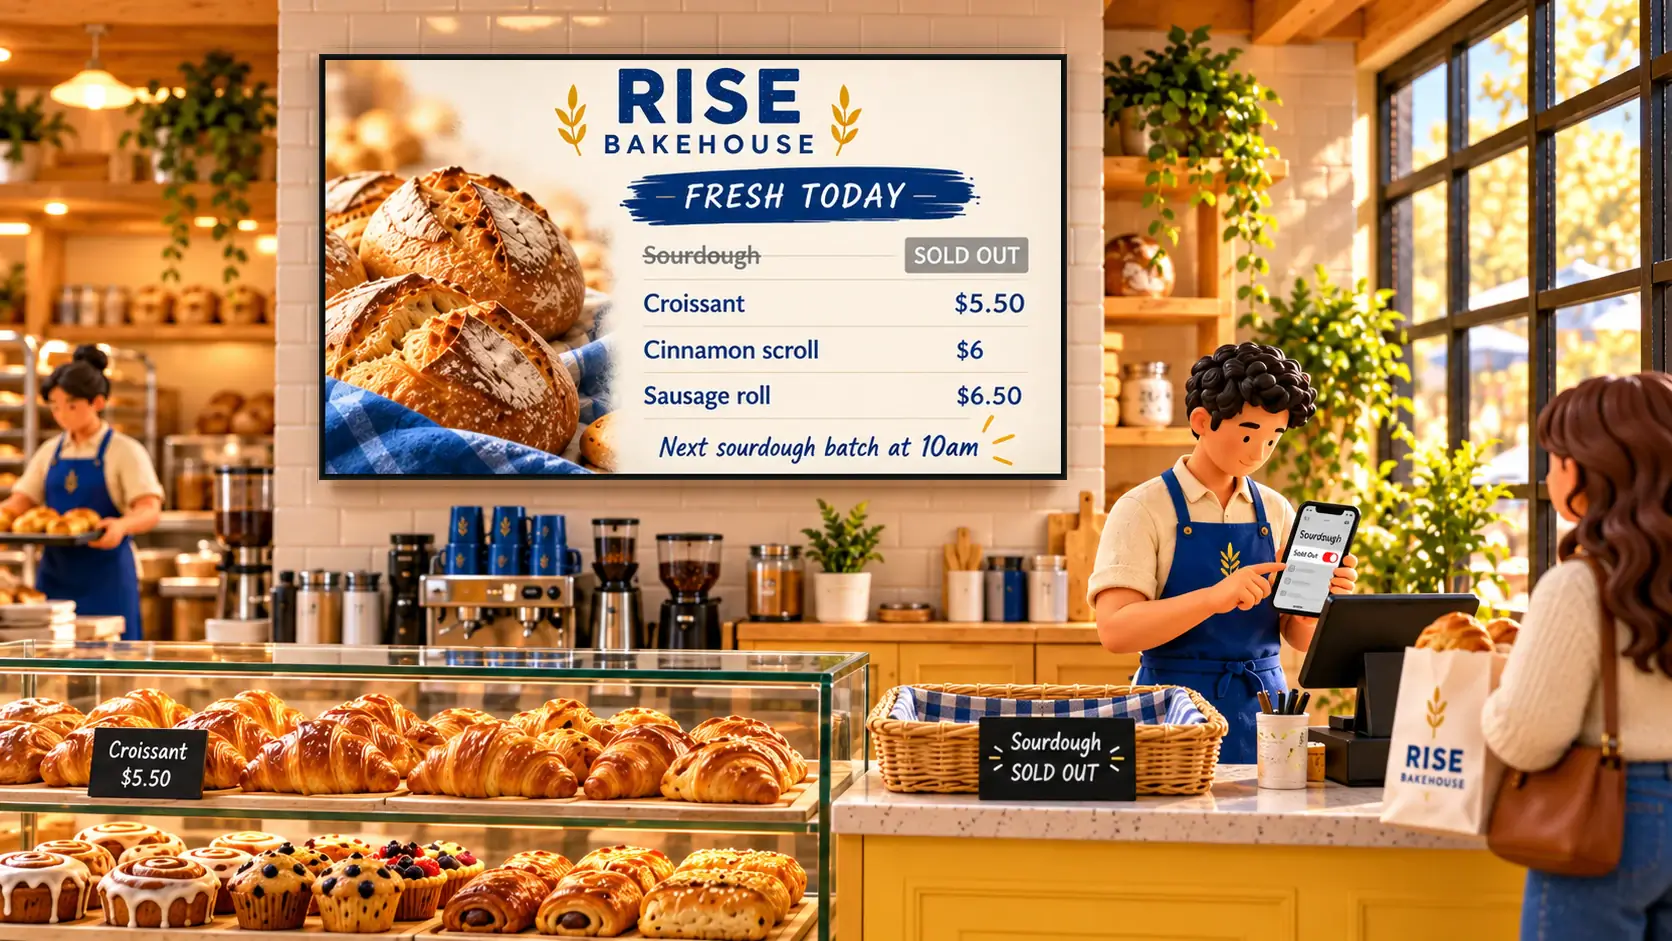 MenusHow to mark items sold out on a digital menu from your phoneHow to mark menu items sold out from your phone so every digital menu board crosses them off within seconds, and choose when they come back by themselves.