
Designing a board inside the menu
ProThe menu’s Board tab: make a board with each category in its own box, then change items right on it, on a phone or a computer.
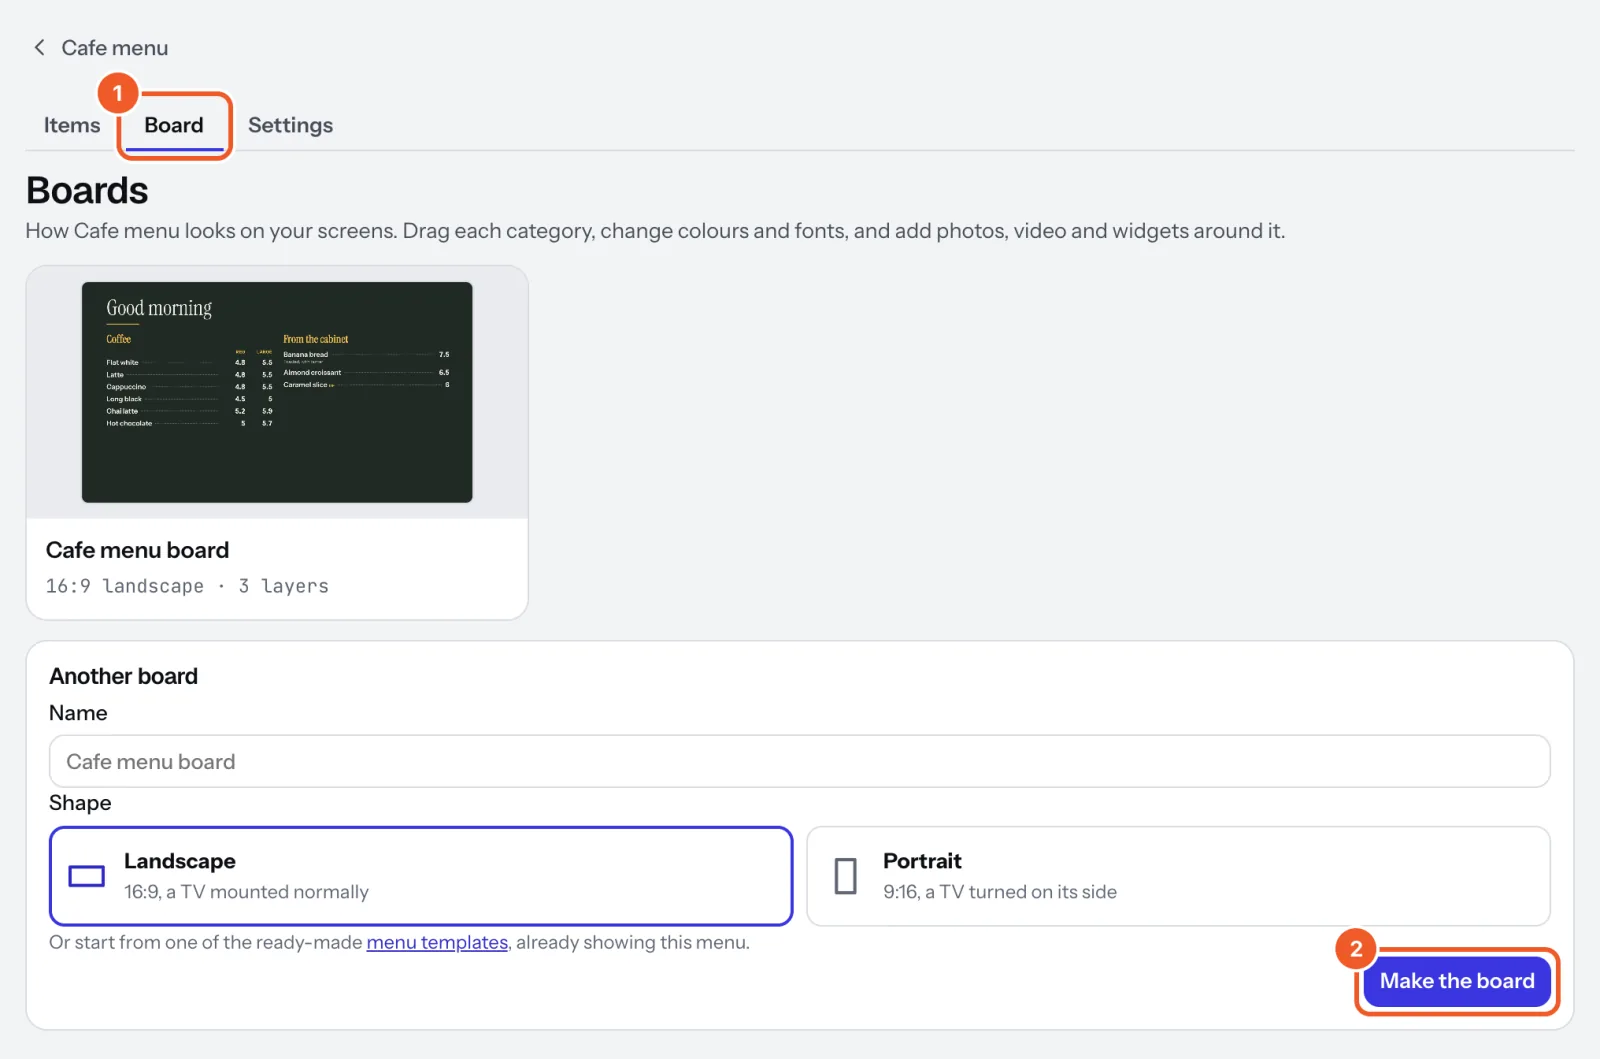
A menu has three tabs: Items, Board and Settings. Board lists every board (a sign with the menu on it) and makes new ones.
- Open the menu in Menus and choose Board (or Design a board beside the items).
- Give the board a name, choose Landscape or Portrait, and press Make the board. Each category starts as its own box, down the columns in menu order, each as tall as its share of the items. Or start from one of the menu templates, already showing this menu.
- The board opens in the sign designer with the menu drawn on it. Move and size each box, change fonts and colours, and add photos, video or widgets around it, as on any sign.
- Select a box, then tap or click an item to change its name, prices or description. Drag an item to put it in another place or another category; a line shows where it will go. Take off the menu removes it.
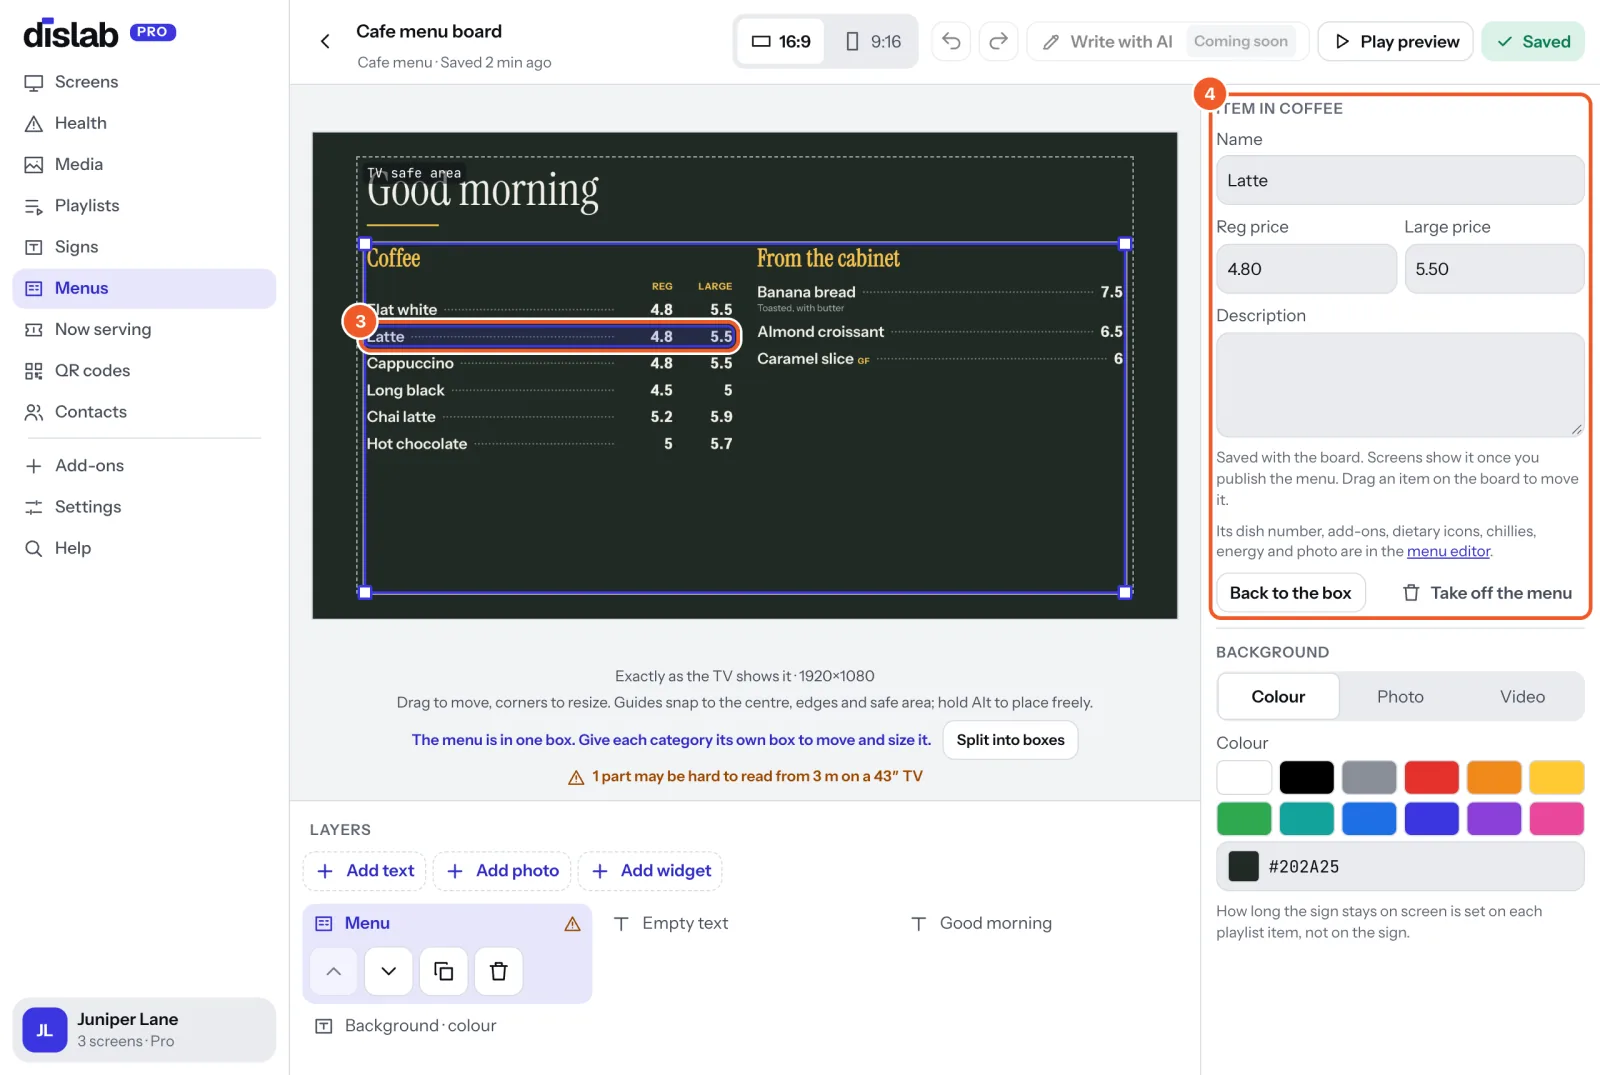
- Undo steps back through item changes as well as the board’s. Save keeps the board and the menu’s changes; Publish menu sends the menu to screens, once it still fits every board showing it.
- The rest of an item (dish number, add-ons, dietary icons, chillies, energy, photo) is on the Items tab.
- A board in one box offers Split into boxes under the canvas; Undo puts it back.
- Menus from Square: Square’s items show on the board but change in Square, which also sets their order. Items you added yourself change here as usual.
- People with the Staff role mark sold out; boards are for the owner, managers and editors.
Thanks for telling us. If something’s missing, tell us what and we’ll add it.
Still stuck?
Email support@dislab.app, or send us a message. If it’s about a screen, tell us its name. We answer within one business day.